Sunday, November 11, 2012

The Train Case Transformation

As some of you know, I am getting married in October:) I wanted to find a way to ask my bridesmaids to be apart of this in a special way. I finally came up with "upcycling" vintage train cases. It goes perfect with my theme, and 3 out of 4 of my bridesmaids will be traveling to be in the wedding!!

I started out by finding the train cases. Luckily, I found all 4 at my favorite antique store:)


 And what they looked like inside...
I started with Mandy's and Chelsea's cases. First, I ripped out what was inside. I also cleaned the cases pretty good, they were kinda dirty.

Inside Mandy's...

Inside Chelsea's...
I chose some fabric and went to work!

 I used some fluff and a hot glue gun for this part...


The outside! I used Mod Podge and scrapbook paper to cover the cases.


And some pictures of the finished products!!

Mandy's

Cortney's

Chelsea's

(Sorry Seester, for some reason I only took video of the outside of your box)

Inside of Chelsea's

Inside of Mandy's

Inside of Ashley's

Thank goodness they all said yes:)

Wingback Complete!

It only took about 4 months, but I have finally finished my wingback chair!

There was some serious time put into this project. Taking on this advanced piece was all trial and error! I am so happy with the way it turned out:)

I decided to some-what tuft the back, so used the white buttons. You can get these buttons from a fabric store. Just a warning, putting them together makes your fingers hurt!


I wanted to blog more with the step-by-steps, but with this being such a drawn out project I didn't really get to do that:( 

HERE IT IS:)


And, a little reminder of what it used to look like!


Sunday, August 12, 2012

Orange Chair Transformation

I purchased this chair at Goodwill, knowing that something good could come out of it. This chair had a rough beginning, but a beauty in the end. Here is the process...

Before any beautifying...


I decided I wanted to paint this chair an orange color. So, I went with a pumpkin orange. Sanded, primed and painted the frame of the chair.

The seat is the easy part...
Remove the seat from the chair. Most of the time the seat is attached to the chair with screws. Remove those, and save them for the end.


I took off the before fabric, but you don't have to. You can just staple over the top of it.


You want to cut out your fabric. Using the seat as a template makes it easier.


Start your stapling. I usually staple front then back, then the sides last. But, you can do it however.


Finished seat...


Now, all you gotta do is reconnect your seat to your frame! Ta-dahhh!


Wednesday, July 25, 2012

I Sold My Very First Pieces Of Work!!!!!

I am going to gloat just a little bit:) I was so nervous to sell any of my stuff, wasn't too sure if anyone would like it! But, I was wrong. I had 2 of my chairs up for sale, and the same lady bought both of them!!!!


So long to these beauties! I hope they just accent someone else's house perfectly:)

Conquering the Wingback! Part II

I have the chair stripped down to basically its frame...

Now, using the pieces of fabric that came off of the chair, you want to cut the new pieces of fabric. Just use them right on top of the new fabric, and get to cutting! Remember, when you start to staple you want to work in reverse from how the pieces came off. Start with the last piece that came off, the back usually is the last to go on.

I reused a majority of the fluff in this chair, just sprayed it with a little Lysol. There were some areas where I did add more fluff.

I also primed and painted the legs of the chair before adding the new fabric!

Just a reminder of the original...


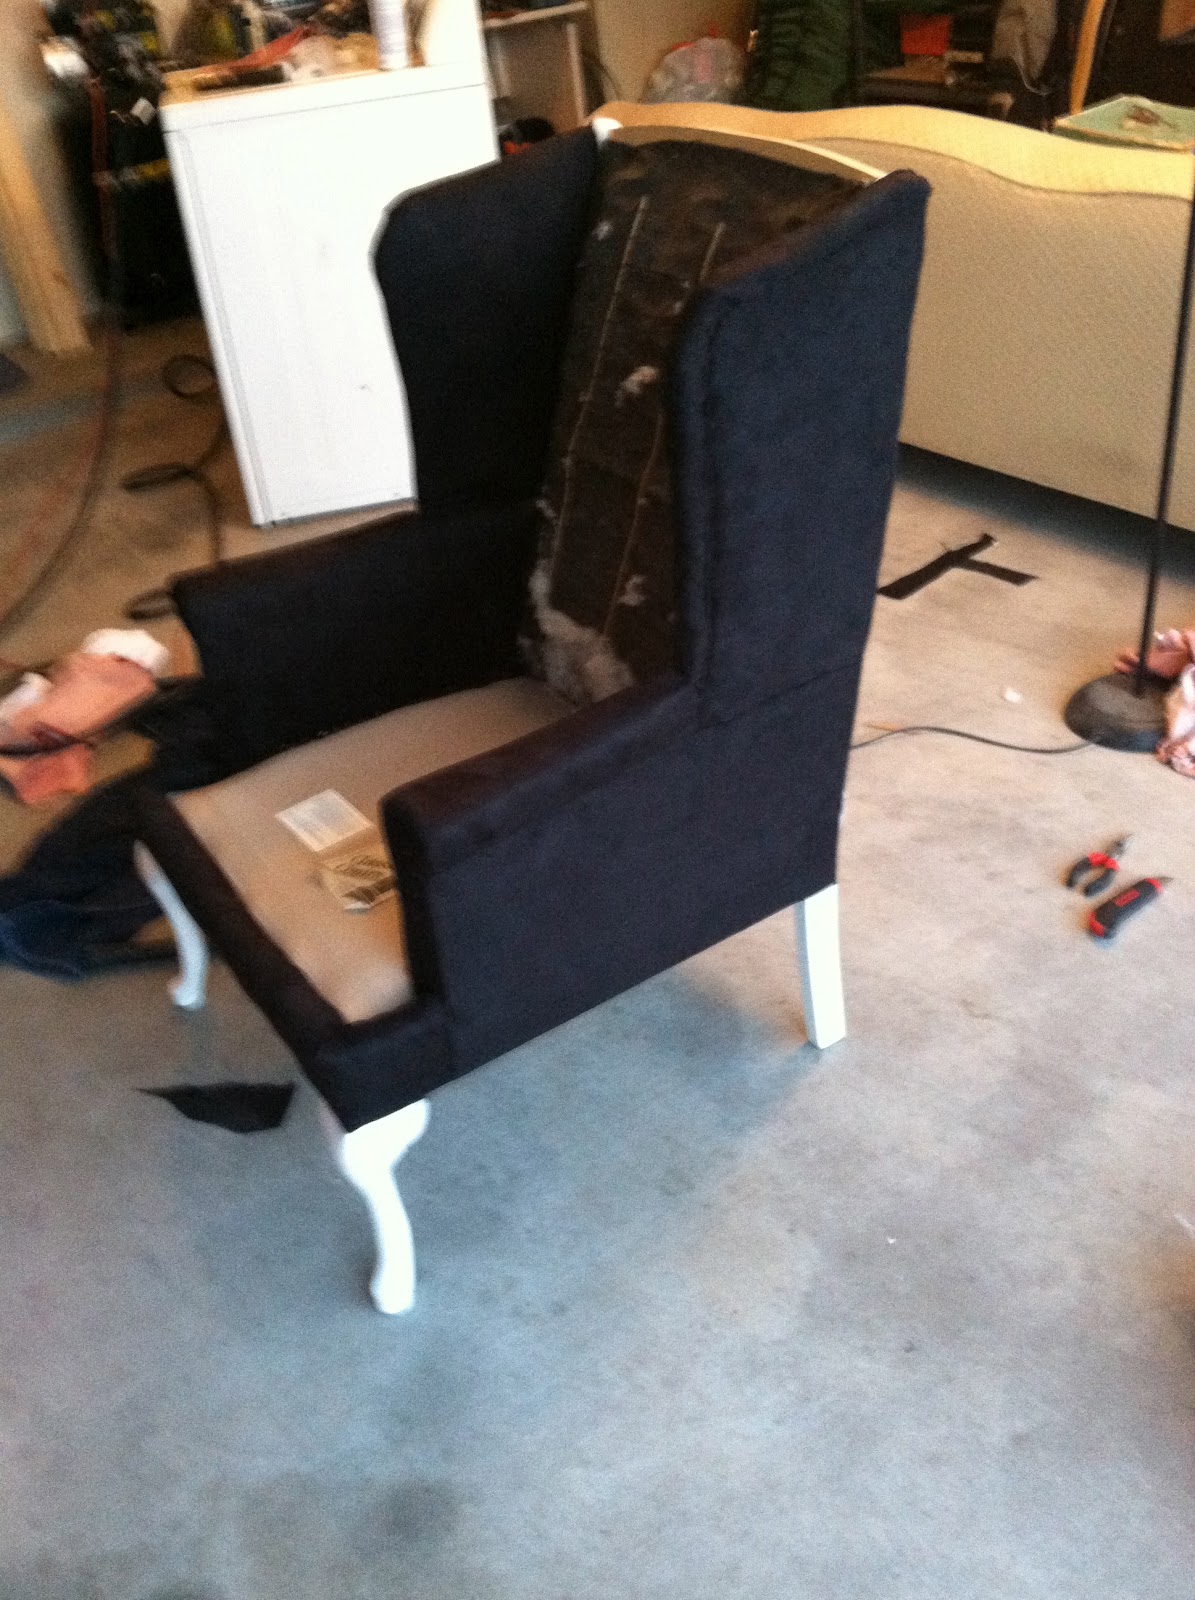
Working piece by piece!


Have a majority of the chair covered!


I decided to use a nailhead trim to accent the chair a bit. When you buy the trim, it is sliver, so I primed and painted it white. This part is a pain, sometimes the nails do not cooperate and the bend or break. You must use a rubber mallet to nail these babies in, a regular hammer scratches and bends them really easy.


Alrighty, I believe we still have a chair cushion to make!

 This is slightly challenging, but worth it in the end:) You will need to sew for this portion. I had no clue how to sew, let alone turn on a sewing machine! Thank goodness I received a how-to lesson from my Aunt Yvonne! After the lesson, I got to work!!

I took the original cushion and broke it down into pieces. This let me see exactly how it was made, so I could recreate it. After it was taken apart, I cut the new pieces with my old fabric as a template.


Wednesday had to be in the picture:)


Lydia is pointing out the old fabric from the new:)

IT'S SEW TIME!

This chair has piping, so I decided to start out with that.  You take the piping and wrap that with the fabric. Sewing as close as possible to the piping.


These things come in handy to keep everything in place.


The piping is coming along!


Phew!! I finished it.


I think this is a good stopping point:)
The rest of the cushion will be on Part III

Conquering the Wingback! Part I

This blog focuses on the stripping of the chairs...

I purchased 2 pink wingback chairs, from Goodwill (on half off day, my favorite!), and decided to make them over! Some of you may not know, but I am getting married and these chairs are going to be apart of the event. I got into this whole reupholstering thing because of my wedding! So, this starts my wingback wedding chair affair:)

Originally, both of the chairs looked like this...


This fabric was not working for me, so let the disrobing begin! I just use a flat head screw driver, needle nose pliers and some good ol' fashion elbow grease! These chairs were very well put together, so I had some sore hands by the time I was finished.
**Remember to keep the pieces of fabric that are taken off the chair, you can use them as a template.
I also took lots of pictures while taking the chair apart, this will help if you forget how something goes!

Start with the back first, then you will see a pattern for how
it was assembled. When you put it all back together, you will work
in reverse. The back piece will be the last thing attached. It is
helpful to number the pieces as you take them off.
     The cushion comes later, start with the
frame!


                                           Just a few snap shots of the process!

Once you have all of the fabric off, you can take a deep breath because you have just defeated this portion:)  

Advance to Part II of Conquering the Wingback:)